Sample 7 : Replace a selected pipe by an expansion loop (OBSOLETE)
See sample 8 instead !
1. Goal
Create a script that will (after pressing a button in the ribbon) replace a selected pipe by an expansion loop. A window will appear to define the size and the default bend radius.
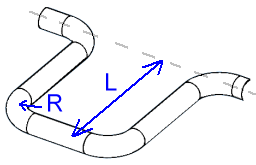
This feature does not exists in MetaPiping 2024 so it is useful that user can create his own COMMANDS based on the MetaL internal format and the existing documented commands.
Since the user will have to create a COMMAND, the application will manage the undo/redo operations by itself !
2. Script definition
From the Home/Python, click on button 2 (Add 3D script) :
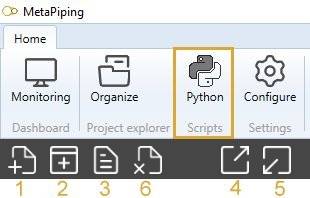
Give it the name “Add loop”
You need to create a virtual environment :

3. requirements.txt
We want to show a window so that the user can define the L and R values, respectively the size and the bend radius of the expansion loop.
We ask ChatGPT to recommand some python libraries :
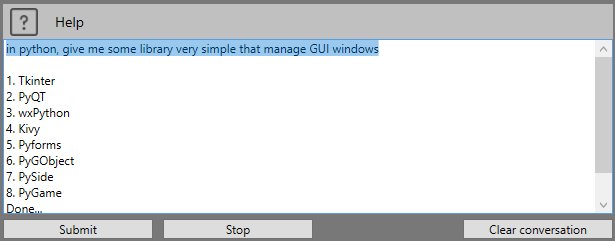
We will choose wxPython :
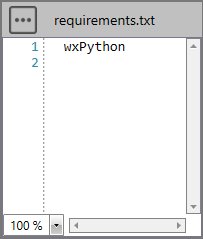
Add this library in requirements.txt, save and install it from the three points button.
This window will appears :
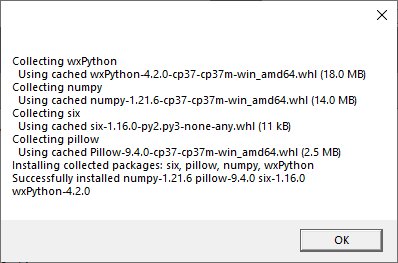
If you don’t see this window, it means that the library has not been correctly installed. Close the application and reinstall requirements.txt.
4. Script files
This kind of script needs some images in order to illustrate the button and the window.
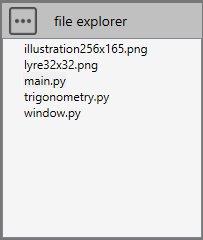
Press the “three points” button and select “Import image”. You need to create a 32x32 transparent PNG for the icon of the button and an illustration of the expansion loop for the window.
Press the “three points” button and select “Add a python file”. We will create a file for some trigonometric functions and one for the definition of the window.
4.1 trigonometry.py
Select the file.
Copy/paste this code in the Editor :
def cross(vec1, vec2):
    return [vec1[1]*vec2[2] - vec1[2]*vec2[1], vec1[2]*vec2[0] - vec1[0]*vec2[2], vec1[0]*vec2[1] - vec1[1]*vec2[0]]

def length(vec):
    return (vec[0] ** 2 + vec[1] ** 2 + vec[2] ** 2) ** 0.5

def normalize(vec):
    l = length(vec)
    return [vec[0]/l, vec[1]/l, vec[2]/l]
Save it !
4.2 window.py
Ask help to ChatGPT :
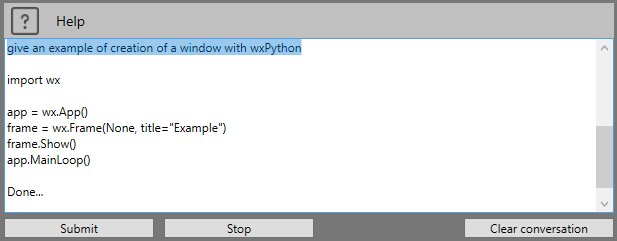
After some research and multiple tests :
import wx
import os

class Frame(wx.Frame):
    def __init__(self, parent, id, title, app, defaultsize, defaultRadius):
        wx.Frame.__init__(self, parent, id, title, size=(300, 310))
        self.app = app

        panel = wx.Panel(self)
        panel.BackgroundColour = 'white'

        png = wx.Image(os.path.join(os.path.dirname(__file__), 'illustration256x165.png'), wx.BITMAP_TYPE_PNG).ConvertToBitmap()
        sb = wx.StaticBitmap(panel, -1, png, (0, 0), (png.GetWidth(), png.GetHeight()))

        text = wx.StaticText(panel, -1, "L =", pos = (10, 183))
        text.SetSize(text.GetBestSize())

        self.edit = wx.TextCtrl(panel, -1, str(defaultsize), size=(100, -1), pos = (50, 180))
        self.edit.SetInsertionPoint(0)

        text2 = wx.StaticText(panel, -1, "R =", pos = (10, 213))
        text2.SetSize(text2.GetBestSize())

        self.edit2 = wx.TextCtrl(panel, -1, str(defaultRadius), size=(100, -1), pos = (50, 210))
        self.edit2.SetInsertionPoint(0)

        btn = wx.Button(panel, -1, "Run", size=(100, 20), pos = (100, 240))
        self.Bind(wx.EVT_BUTTON, self.OnRun, btn)

        self.CenterOnScreen(wx.BOTH)

    def OnRun(self, evt):
        self.app.SetLValue(self.edit.GetValue())
        self.app.SetRValue(self.edit2.GetValue())
        self.Close()


class App(wx.App):
    def __init__(self, defaultsize, defaultRadius):
        wx.App.__init__(self)
        self.Lvalue = ""
        self.Rvalue = ""
        self.frame = Frame(None, wx.ID_ANY, "Loop definition", self, defaultsize, defaultRadius)
        self.SetTopWindow(self.frame)
        self.frame.Show(True)

    def SetRValue(self, value):
        self.Rvalue = value

    def GetRValue(self):
        return self.Rvalue

    def SetLValue(self, value):
        self.Lvalue = value

    def GetLValue(self):
        return self.Lvalue
Save it !
This will create a window with an illustration and 2 edits, one for the length and one for the radius.
You can set the default values in the parameters of the App.
GetLValue() gives the user length.
GetRValue() gives the user radius.
5. Script properties
In this kind of script, user has to define the button :
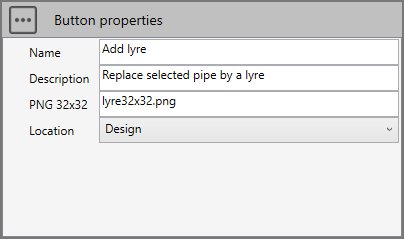
The location will be Design so that the button appears at the end of the ribbon with its name, icon and description :

6. main.py
Select the file.
Copy/paste this code in the Editor :
############################
# CWANTIC LOOP GUI EXAMPLE #
############################

from window import App
from System.Windows.Media.Media3D import Vector3D
from Cwantic.MetaPiping.Core import RemoveElementCommand, AddNodeCommand, DrawPipingCommand, InsertBendCommand

# Inspect selection
n = len(design.selectedList)
res = "Select a pipe !"

if n==1:
    # Check the type of selected element
    if design.isType(design.selectedList[0], "Pipe"):
        pipe = design.selectedList[0]
        p1 = pipe.Node1.Coor
        p2 = pipe.Node2.Coor

        # Get the current model
        model = design.getMetal()

        # Get the scene vertical vector (+Z or +Y)
        verticalvec = design.getVerticalVector()

        # Get the current piping values (section, material, radius,...)
        currentValues = design.getCurrentSpecValues()

        # Memorize current radius
        currentRadius = currentValues.MKS_BendRadius

        # Get the pipe direction vector
        vec1 = Vector3D(pipe.DL.X, pipe.DL.Y, pipe.DL.Z)

        # Compute the cross product to determine the loop direction
        dir = Vector3D.CrossProduct(vec1, verticalvec)
        dir.Normalize()

        # Create a new USER command : cmd
        cmd = design.createCommand("AddLoop")

        # 1 : Remove the selected pipe

        # 1.1 : Create params for command "RemoveElementCommand" (see Help)
        params = []
        params.append(design.selectedList)

        # 1.2 : Add sub command to user command cmd
        valid = cmd.addSubCommand("RemoveElementCommand", params)

        if valid:
            # 2.0 : Launch window to get loop's size and bend radius. Default size = 1.0, default radius = currentRadius
            app = App(1.0, currentRadius)
            app.MainLoop()

            # retrieve the size and radius from the app
            size = float(app.GetLValue())
            # Set the new Radius for next commands
            currentValues.MKS_BendRadius = float(app.GetRValue())

            # TIP : Create 2 new nodes (N3 and N4) with "AddNodeCommand"
            node1Cmd = AddNodeCommand(model, p1.X + size*dir.X, p1.Y + size*dir.Y, p1.Z + size*dir.Z, "", False, currentValues)
            N3 = node1Cmd.Node

            node2Cmd = AddNodeCommand(model, p2.X + size*dir.X, p2.Y + size*dir.Y, p2.Z + size*dir.Z, "", False, currentValues)
            N4 = node2Cmd.Node
            # Create new pipe perpendicular to selected pipe from node1

            # 2.1 : Create params for command "DrawPipingCommand" (see Help)
            params = []
            params.append(pipe.Node1)
            params.append(N3)
            params.append(size*dir.X)
            params.append(size*dir.Y)
            params.append(size*dir.Z)
            params.append(0.0)
            params.append(0.0)
            params.append(0.0)
            params.append(currentValues)

            # 2.2 : Add sub command
            valid = cmd.addSubCommand("DrawPipingCommand", params)

            if valid:
                # 3 : Create new pipe parallel to selected pipe

                # 3.1 : Create params for command "DrawPipingCommand" (see Help)
                params = []
                params.append(N3)
                params.append(N4)
                params.append(vec1.X)
                params.append(vec1.Y)
                params.append(vec1.Z)
                params.append(0.0)
                params.append(0.0)
                params.append(0.0)
                params.append(currentValues)

                # 3.2 : Add sub command
                valid = cmd.addSubCommand("DrawPipingCommand", params)

                if valid:
                    # 4 : Create new pipe to close the loop

                    # 4.1 : Create params for command "DrawPipingCommand" (see Help)
                    params = []
                    params.append(N4)
                    params.append(pipe.Node2)
                    params.append(-size*dir.X)
                    params.append(-size*dir.Y)
                    params.append(-size*dir.Z)
                    params.append(0.0)
                    params.append(0.0)
                    params.append(0.0)
                    params.append(currentValues)

                    # 4.2 : Add sub command
                    valid = cmd.addSubCommand("DrawPipingCommand", params)

                    if valid:
                        # 5 : Insert a bend at the last node

                        # 5.1 Create params for command "InsertBendCommand"
                        params = []
                        params.append(pipe.Node2)
                        params.append(currentValues)

                        # 5.2 : Add sub command
                        valid = cmd.addSubCommand("InsertBendCommand", params)

        # Execute command
        if valid:
            design.executeCommand(cmd)
            res = ""
        else:
            res = "Incorrect params"
        # Restore the radius
        currentValues.MKS_BendRadius = currentRadius
    else:
        res = "The selected element is not a pipe"

# Show a message (if res != "")
design.result = res
Save it !
7. Result
In Design mode, select a pipe that you want to replace by an expansion loop :
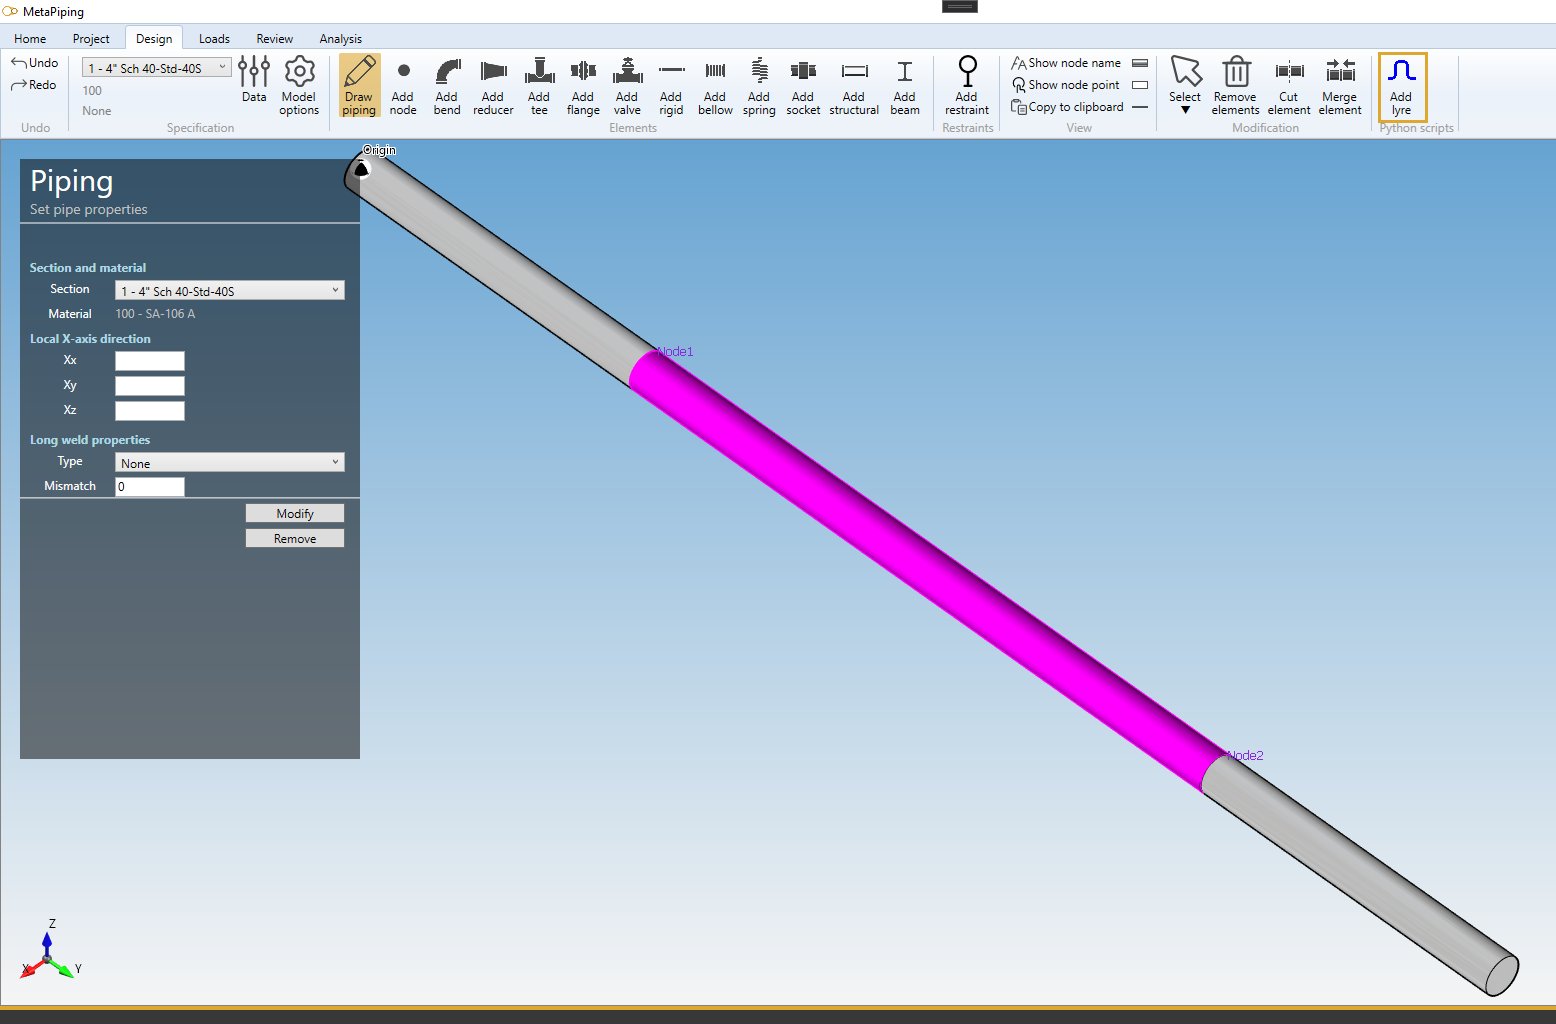
Click on the new button Add loop :
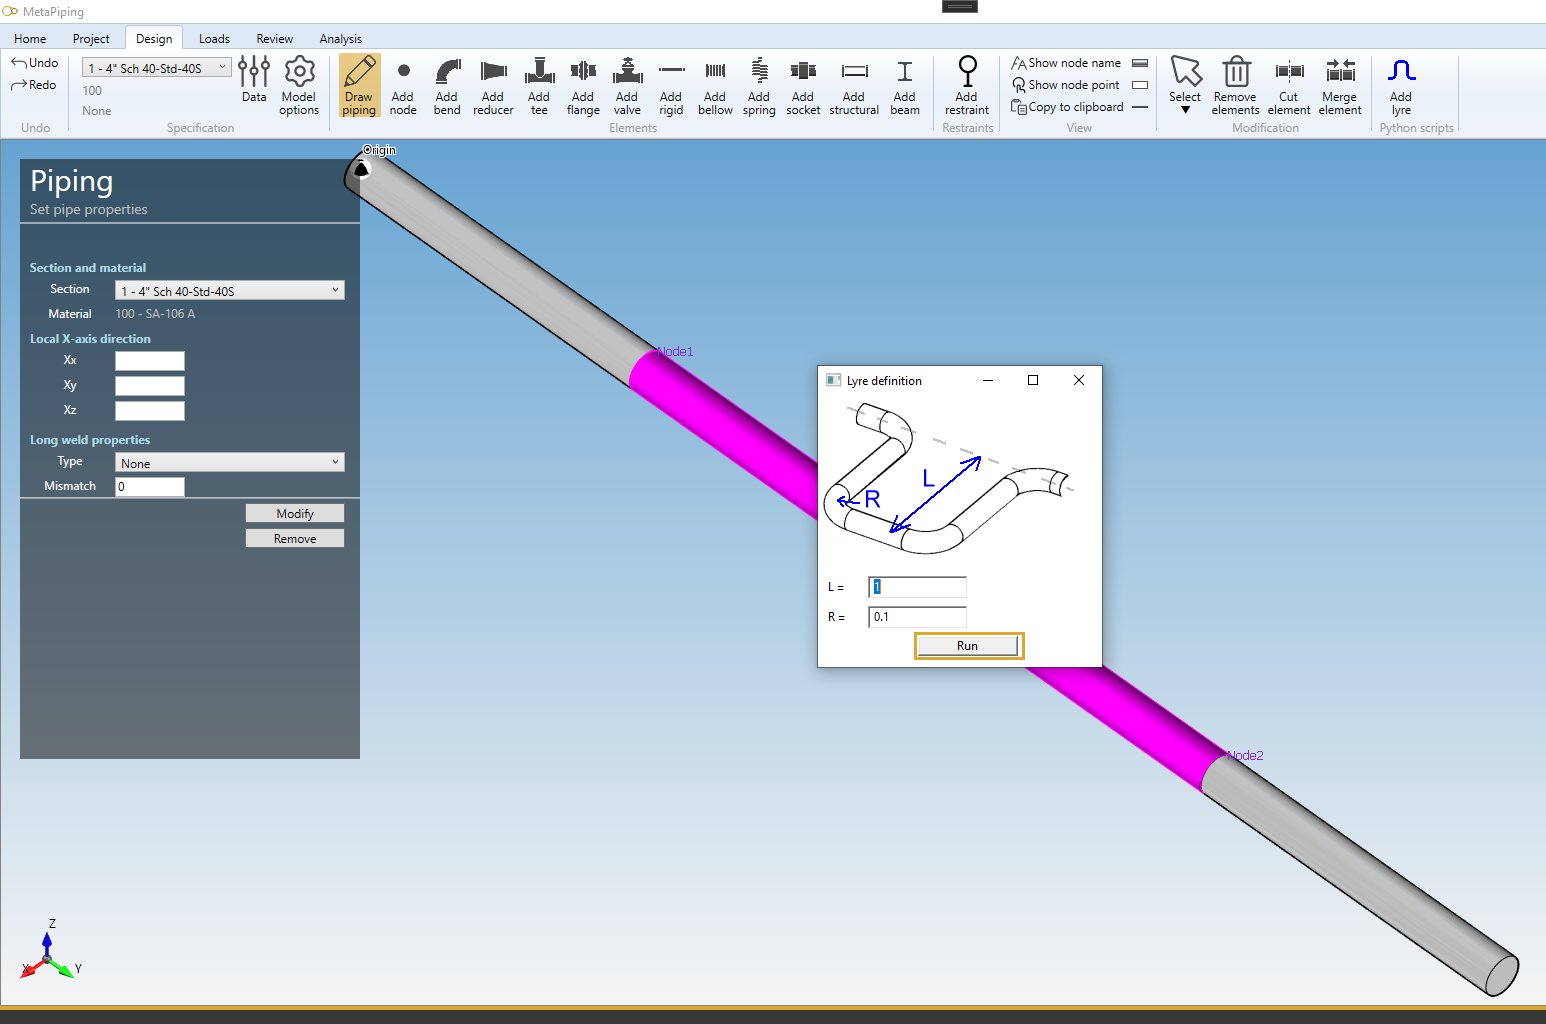
Complete L, R and press Run :
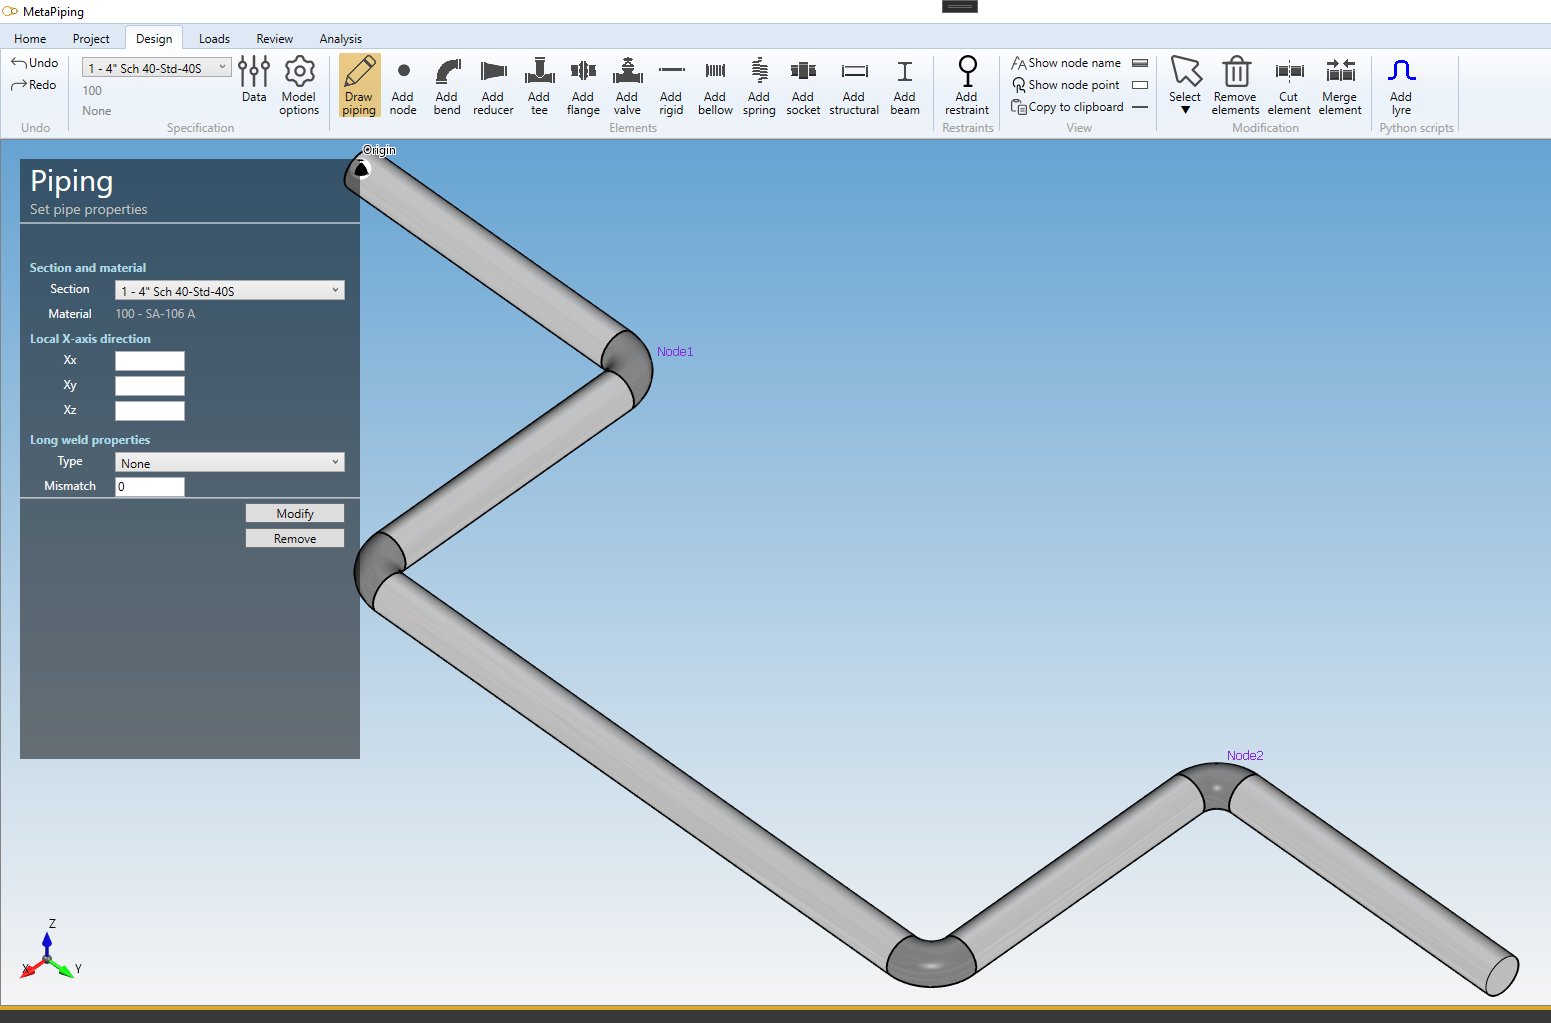
The expansion loop appears !
You can undo/redo your COMMAND !